
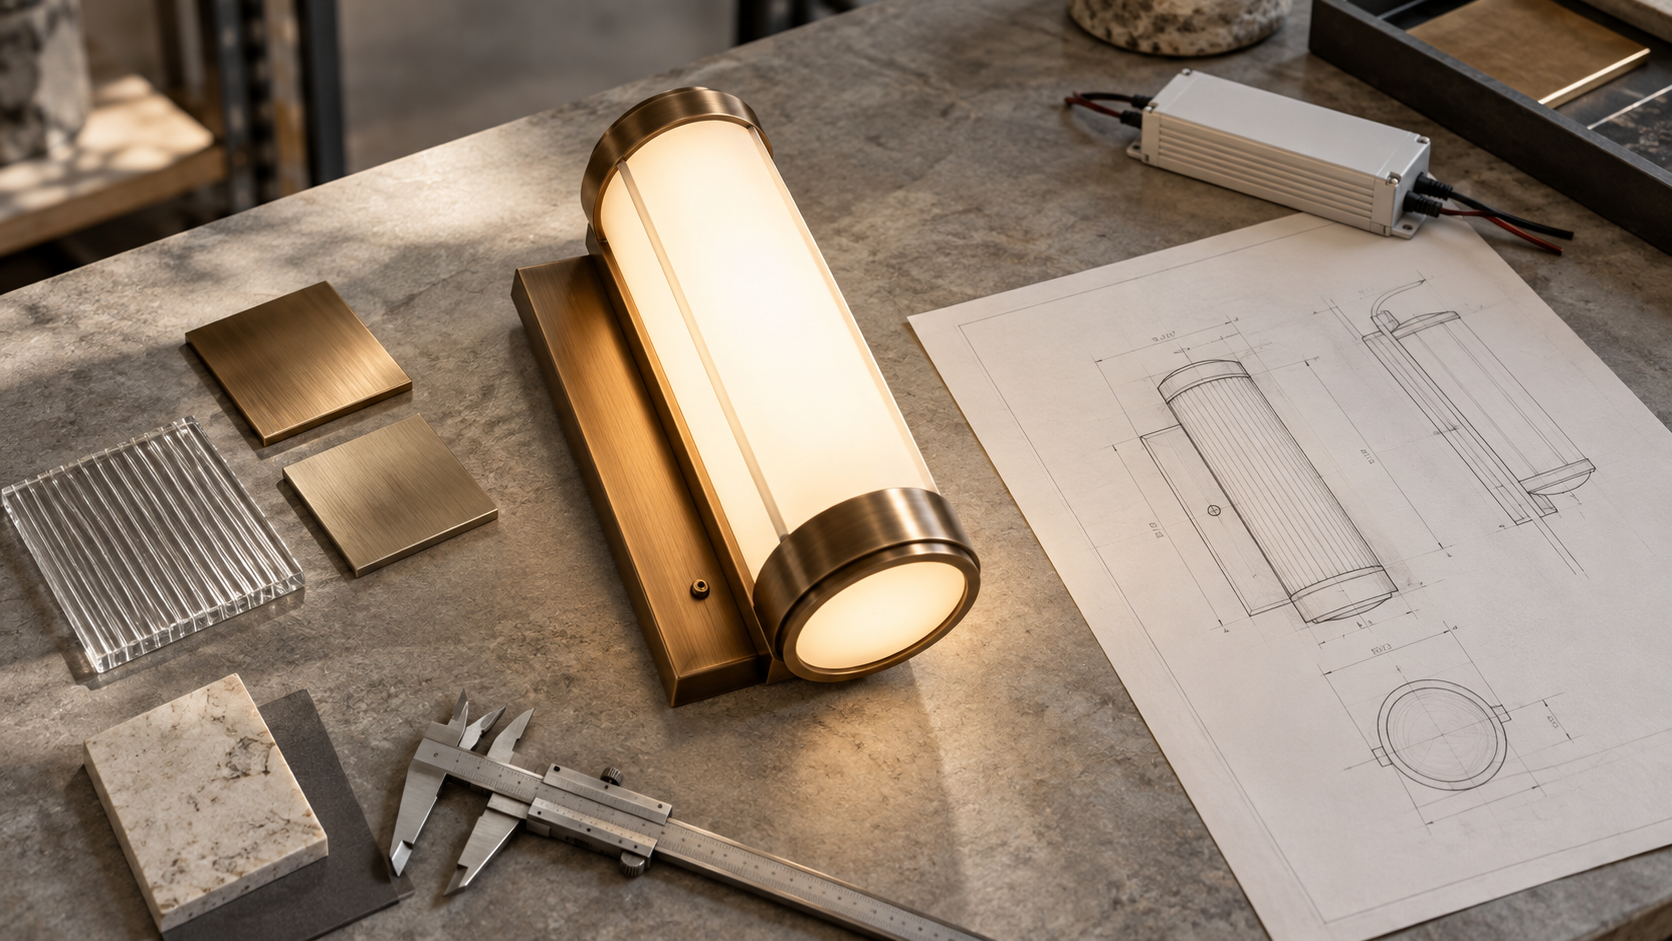
A bespoke lighting sample is not produced only to confirm whether the fitting looks attractive. It provides an opportunity to review the agreed dimensions, materials, finish, illuminated appearance, electrical components, movement and installation details before the design is released for bulk production.
A clear bespoke lighting sample approval creates a shared production reference. An unclear approval can leave important differences unresolved until multiple fittings have already been manufactured.
The useful question is not simply “Is this approved?” It is “What, precisely, does this approval cover?”
1. Why sample approval matters
The sample brings the drawing and specification into a physical assembly. It can reveal a shade that sits differently than expected, a visible connection or an awkward adjustment while changes are still manageable.
Its value depends on the agreed scope. A finish sample cannot establish how an assembled fitting will distribute light. A prototype made to review proportions may contain temporary components that are not intended for production.
Identify those limitations before review. An approval should distinguish agreed details from unresolved items, rather than allowing a general acceptance to stand in for decisions nobody has made.
2. Confirm the approved drawing revision
Start with the latest approved drawing and specification beside the sample. Confirm overall dimensions, proportions, projection, suspension length, backplate or ceiling plate dimensions, component arrangement and relevant fixing positions.
Check what each measurement refers to. The height of a pendant body is not the same as its total installed drop. On a wall light, projection may be measured from the finished wall rather than the front of the backplate.
Comments from emails, marked-up drawings and messages should be consolidated into one final revision. Our guide to reviewing bespoke lighting shop drawings explains the interfaces worth resolving before manufacture. If the sample differs from that revision, identify the difference before signing it off.
3. Review materials and construction
Confirm the agreed base materials and decorative materials: glass, stone, timber, resin or fabric, where relevant. A brass-coloured surface does not establish the metal beneath it, and an opaque shade can conceal quite different internal assemblies.
Two fittings can look similar externally while using different materials or construction methods. Review how parts are joined, supported and retained, together with access to replaceable components. Where internal construction cannot be inspected safely in the assembled sample, request the relevant assembly information or an agreed review with the manufacturer.
Record temporary prototype parts separately. They should not become an accidental production reference merely because they were present during the appearance review.
4. Review finish colour, texture and sheen
Look at colour direction, brushing pattern, texture, reflectivity and sheen as separate characteristics. Compare the assembled fitting with the agreed physical reference under consistent lighting, then consider how it reads alongside the intended interior materials.
A small flat chip may appear different on curved, folded, machined or welded components. Different base materials can also affect the finished appearance. Review representative parts together, particularly where components meet. Our article on specifying antique brass finishes explores why a finish name alone leaves room for interpretation.
Timber grain, stone veining and alabaster translucency vary naturally. They should not be assessed as printed surfaces. Agree the acceptable character or range where needed; photographs support the record but are not a reliable substitute for an agreed physical finish reference.
5. Review the fitting when illuminated
Assess the sample both switched off and illuminated, with the proposed light source and driver wherever possible. Confirm colour temperature, visible brightness, diffusion, dark areas, hotspots, shadows and consistency between illuminated components. Look from the intended viewing angles, not only directly in front of the fitting.
Where relevant, check the documented CRI, LED specification, wattage and expected light output against the approved specification. A visually pleasing sample does not verify those values. Visual inspection complements, but does not replace, photometric testing or other required electrical and product testing.
Record the review conditions and any temporary equipment. A different lamp or driver can make a later comparison misleading, even when the decorative assembly has not changed.
6. Confirm drivers, controls and electrical components
Review the input voltage, LED driver reference, constant-voltage or constant-current arrangement, connected load, switch type and driver location. The driver and LED information should describe the proposed production combination, not simply the equipment available for demonstrating the sample.
“Dimmable” alone is not a complete approval. Where dimming is required, identify the relevant control method—such as phase dimming, 0–10V, 1–10V or DALI—and the actual equipment to be coordinated. These descriptions are not interchangeable.
Agree how compatibility and the required operating range will be checked with the responsible technical team. Note any controls that could not be represented during sample review. An appearance approval should not be interpreted as confirmation of an untested site control arrangement.
7. Test switches, joints and moving parts
For bedside and reading lights, everyday handling deserves its own review. Check rotation range, joint tension, locking method, switch position and cable movement. Confirm that the head or arm remains stable in the intended position without excessive force to adjust it.
Consider the guest's approach from the bed: can the switch be reached, and does adjustment bring the fitting into contact with the headboard or nearby joinery? Watch for cable twisting or pinching through the intended movement.
Record the agreed behaviour as well as the appearance. A brief handling check can identify concerns, but it is not a substitute for any specified durability testing.
8. Review fixing and installation details
Check mounting holes, backplate dimensions, the ceiling plate, cable entry, suspension points and access to the driver. Review the assembly sequence: a concealed screw still needs to be reachable when the fitting is positioned against the finished surface.
Bring known site limitations into the discussion, including recess depth, adjacent joinery, ceiling access and space for connections. Identify what remains dependent on site confirmation rather than assuming that an installation on a workshop board represents the final condition.
Approval of a product sample does not confirm the suitability of the building structure or site fixing. These must be verified by the responsible qualified project professionals. Sample review also does not replace certification, required testing or site approval.
9. Record approved differences and tolerances
If an accepted sample differs from the drawing or reference image, describe the difference clearly. “Approved as sample” is difficult to use later if nobody knows whether a visible joint was accepted or simply overlooked.
Examples include natural stone variation, hand-finished metalwork, glass texture, colour variation or a revised fixing detail. Reference photographs and marked-up drawings can show exactly which feature the note concerns.
Agree project-specific tolerances where required rather than applying an invented universal allowance. Natural or hand-finished variation should not become a blanket explanation for damage, incorrect components or departure from the agreed construction.
10. Sample approval and bulk-production approval are not always the same
Approval of a sample's appearance does not automatically approve later technical changes, substituted components or revised construction. A replacement driver or altered joint may need review even if the fitting looks unchanged.
Any material change after sample approval should be identified and reviewed before bulk production. State whether the sample is approved, approved subject to specific corrections, or awaiting further review—and who will confirm that any conditions have been closed.
Where a correction affects the agreed appearance or operation, decide whether an updated component, evidence of the correction or a revised sample is needed before production release.
11. Create a clear approval record
Keep the approval information together and make it available to the people releasing and reviewing production:
- The approved drawing revision.
- The approved specification.
- Photographs of the approved sample, including relevant details.
- Finish or material sample references.
- Driver and LED information.
- Written notes covering accepted variations and resolved conditions.
- The date and identity of the approving party.
Identify the physical sample so it can be matched to this record. A photograph without a revision reference may become ambiguous once several similar samples exist.
A useful approval process does not aim to remove every natural manufacturing variation. Its purpose is to establish a clear and realistic reference for bulk production, with the remaining responsibilities understood.
For the wider sequence from initial review to manufacture, see Covetstar's bespoke lighting process.