
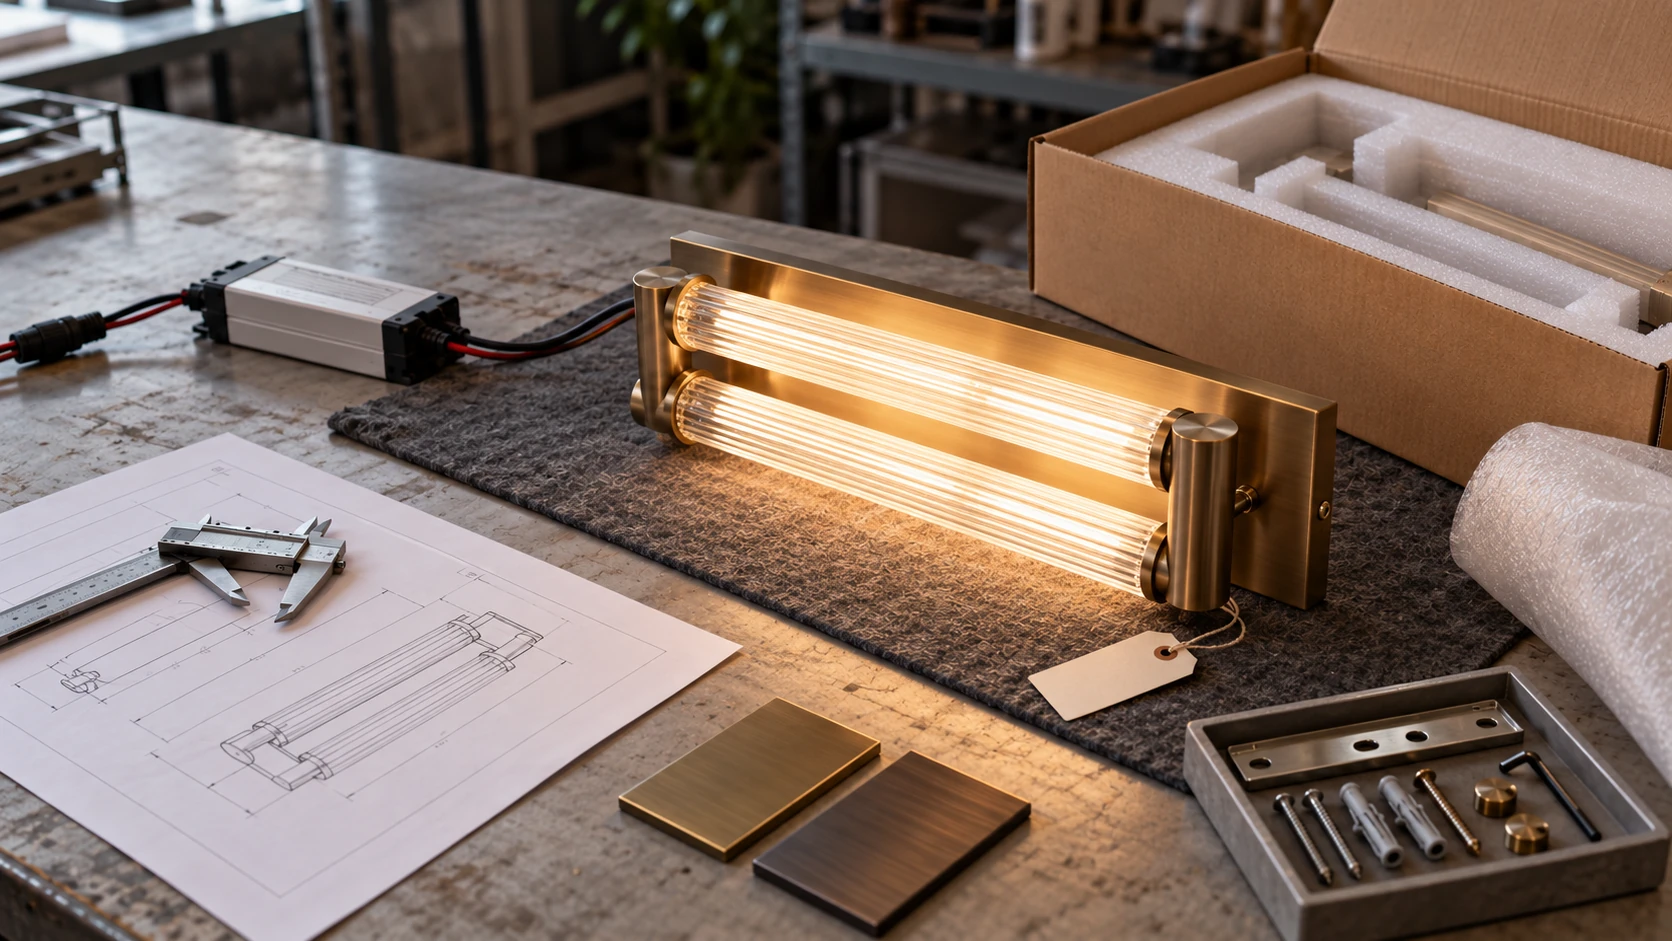
Bespoke lighting quality control should begin with the information approved for production.
A finished fitting may look generally correct but still contain details that create difficulties during installation or use. A backplate may not correspond with the prepared wall opening. A metal finish may vary from the approved reference. A driver may provide the correct output but use the wrong dimming protocol. Installation components may also be missing even though the fitting itself is complete.
For this reason, final inspection should consider the product as a complete system rather than only reviewing its appearance.
The appropriate checks will depend on the type of fitting, materials, quantity and project requirements. A decorative table lamp, an adjustable bedside light and a large suspended chandelier will not require the same inspection process.
Start With the Approved Project Information
The production team and the person carrying out the final inspection should work from the same approved information.
Depending on the project, this may include:
- The latest approved shop drawing
- The approved specification
- A physical prototype or approved bespoke lighting sample
- Metal finish samples
- Glass, stone, timber or fabric references
- LED and driver information
- Written records of agreed changes
- Packaging or labelling requirements
The drawing revision is particularly important. Comments may have been exchanged through emails, marked-up drawings and messages during product development. Before inspection, these changes should be consolidated into a clearly identified final revision.
Without one agreed reference, different people may inspect the same fitting against different expectations.
Check Dimensions and Construction
Overall dimensions should be checked against the approved drawing before the fitting is packed.
The relevant dimensions may include:
- Width, height and depth
- Diameter
- Projection from the wall
- Body height and overall drop
- Suspension length
- Backplate or ceiling plate dimensions
- Mounting-hole positions
- Cable-entry position
- Distance between lighting elements
- Quantity and arrangement of decorative components
Not every dimension needs to be measured in the same way for every product. The important point is to identify which dimensions affect appearance, installation and compatibility with the prepared site conditions.
The internal and supporting construction should also be reviewed where it affects safety, stability, assembly or maintenance. For a larger fitting, this may include the frame, suspension connections, threaded components, detachable sections and access to internal wiring.
A final visual inspection cannot determine whether the building structure is suitable for the fitting. Structural support and site fixings must be confirmed by the responsible qualified project professionals.
Compare Materials With the Approved Specification
A fitting can follow the correct shape while still using an incorrect material.
Metal components should be checked against the approved material and construction. Stainless steel, aluminium, mild steel and brass may produce a similar visual direction after finishing, but they do not have identical properties or fabrication requirements.
Decorative materials should also be checked. These may include:
- Clear, opal, coloured or reeded glass
- Alabaster or other natural stone
- Resin or acrylic
- Timber
- Ceramic
- Fabric shades
- Decorative chains, crystals or suspended elements
Where material substitutions were agreed during development, the change should be recorded rather than assumed.
Review Colour, Texture and Sheen
A finish description such as “antique brass”, “satin nickel” or “matt black” does not fully define the final appearance.
The completed fitting should be compared with the approved finish reference for:
- Colour direction
- Brushing or hairline pattern
- Texture
- Reflectivity
- Sheen level
- Consistency between adjoining components
- Visible welding, polishing or machining marks
The geometry of a component can affect how the finish appears. A flat sample, a curved tube and a machined fitting may reflect light differently even when they use the same finishing process.
Different base materials can also influence the result. For this reason, the inspection should consider both the approved visual direction and the practical characteristics of the completed components.
Small variations may be expected in hand-finished metalwork. The acceptable level should be considered in relation to the project, viewing distance and approved sample rather than judged against an unrealistic expectation of printed colour uniformity.
Inspect Glass, Stone and Other Natural Materials
Glass and natural materials require a different type of review from painted or plated metal.
Glass should be checked for issues such as:
- Cracks or chipped edges
- Significant scratches
- Incorrect colour or opacity
- Distortion beyond the expected character of the glass
- Poor fitting within the metalwork
- Uneven positioning between repeated components
- Damage around drilled or fixed areas
Handmade and textured glass may contain variations that form part of the approved appearance. These should be distinguished from damage or unacceptable manufacturing defects.
Natural stone, alabaster and timber will contain differences in colour, veining and grain. Inspection should confirm that the material is suitable for the intended fitting and consistent with the approved direction, while recognising that no two natural pieces will be identical.
If closer matching is required across several fittings, this should be considered when the material is selected, not only during final inspection.
Review Assembly and Alignment
Before packing, the completed fitting should be assembled to the extent required for a meaningful inspection.
The review may include:
- Alignment of arms, frames and shades
- Consistent spacing between repeated elements
- Stability of the assembled fitting
- Correct orientation of components
- Secure decorative parts
- Clean joints and connections
- Compatibility between detachable sections
- Access to screws, drivers, LED modules or replaceable components
For fittings produced in sections, a trial assembly may help confirm that the parts connect correctly and that the labelling sequence is clear.
A product can contain correctly manufactured individual parts but still appear uneven when assembled. Reviewing the fitting as a whole can identify issues that are difficult to see at component level.
Complete Electrical and Illuminated Checks
The fitting should be checked in both the switched-off and illuminated condition.
Relevant electrical checks may include:
- Input voltage
- LED type
- Constant-voltage or constant-current arrangement
- Connected load
- Driver manufacturer and model
- Driver output rating
- Colour temperature
- Switch operation
- Cable and plug type
- Earthing arrangement where applicable
- Driver location and accessibility
- Correct operation of each lighting section
When illuminated, the fitting should be reviewed for:
- Consistent light output
- Correct colour temperature
- Visible hotspots
- Unwanted dark areas
- Diffuser performance
- Uneven illumination between repeated components
- Unexpected shadows
- Visible internal components
Visual inspection does not replace photometric measurement, electrical safety testing or certification where these are required by the project. The inspection method should reflect the agreed specification and intended application.
Confirm Dimming and Control Requirements
“Dimmable” is not a complete control specification.
The final components should correspond with the confirmed project system, which may include phase dimming, 0–10V, 1–10V or DALI.
The inspection should confirm:
- The specified dimming protocol
- The correct driver model
- Compatibility between the LED load and driver
- The required control wiring
- Driver grouping
- Remote or integral driver location
- Identification of which driver supplies each fitting or lighting section
Where practical, dimming performance may be checked using suitable compatible control equipment. Site commissioning conditions can still affect the final result, particularly where several fittings, control devices and building-management systems are connected together.
The driver and control details supplied with the fitting should agree with the electrical information issued to the project team.
Test Switches, Joints and Adjustable Parts
Adjustable wall lights and bedside reading lights require mechanical checks in addition to electrical inspection.
These may include:
- Rotation range
- Joint tension
- Locking action
- Stability in the selected position
- Switch location and operation
- Cable movement through the joint
- Clearance between moving components
- Left-hand and right-hand orientation
- Repeated movement without unwanted loosening
A joint that feels acceptable during one movement may behave differently after repeated adjustment. The checking method should reflect how the product will be used in the hotel room or interior.
Moving parts should operate smoothly without creating unnecessary pressure on the electrical cable or damaging the finish.
Check Installation Components and Labelling
A fitting cannot be installed successfully if the required supporting components are missing or unclear.
Before packing, confirm the applicable items, such as:
- Ceiling plates or wall backplates
- Suspension wires or rods
- Fixing screws and decorative caps
- Drivers and control components
- Cable connectors
- Assembly tools where specially required
- Replacement glass or agreed spare parts
- Installation drawings
- Wiring information
- Component labels
For projects containing many fittings, labels should correspond with the lighting schedule, product reference, room number or installation zone where required.
Large chandeliers packed in multiple sections should use a clear component-identification system. The installation team should be able to understand which parts connect together without opening every package and comparing them manually.
Review Packing Before Shipment
Packaging should be developed around the actual product rather than treated as the final generic step.
The packing method may need to consider:
- Product weight
- Fragile glass or stone
- Projecting arms or switches
- Finished metal surfaces
- Detachable components
- Long suspension parts
- Driver and accessory boxes
- On-site assembly sequence
- Handling and lifting requirements
- International transportation conditions
Finished metal surfaces should be protected from abrasion without using materials that could react with or mark the finish.
Glass, stone and other fragile components should be separated from heavy metal parts. Empty space inside the carton or crate should be controlled so that components cannot move freely during transport.
If the fitting must be unpacked in a particular sequence, the packaging and labels should support that sequence.
Keep a Final Inspection Record
A useful inspection record provides evidence of what was reviewed before shipment.
Depending on the project, this may include:
- Overall product photographs
- Illuminated photographs
- Key dimension records
- Finish comparison photographs
- Driver and component labels
- Packing photographs
- Accessory quantities
- Notes covering accepted variations or unresolved items
The purpose is not to produce unnecessary paperwork. It is to create a clear reference if a question arises during delivery, installation or later project review.
Any issue identified before shipment should be recorded together with the agreed corrective action. A fitting should not be treated as complete simply because production has reached the planned dispatch date.
Quality Control Should Follow the Product
There is no single inspection checklist suitable for every bespoke light.
A stone table lamp may require close review of natural material variation and shade alignment. A bedside reading light may require repeated movement and switch testing. A large chandelier may require trial assembly, component labelling, suspension coordination and a detailed packing sequence.
The inspection plan should therefore be developed around the approved design, construction, materials, electrical requirements and installation method.
Effective quality control does not begin when the finished fittings are placed beside the packing cartons. It begins with clear drawings, approved samples and recorded specifications, then continues through the production and inspection process, assembly, testing and preparation for delivery.
When these references remain consistent, the final inspection becomes a practical confirmation that the fittings are ready for the next stage of the project.
Have a bespoke lighting project in development?
Share your drawings, specifications or project requirements. We can review the available information and identify the details that should be coordinated before production and delivery.